I know that some men might think that they don’t need to read this blog post, but the truth is that I’ve seen a lot of DIY speaker boxes in my day, and there are many steps involved. It’s not as easy as you may think, from cutting wood pieces by hand to sanding them down and nestling them together. So if you’re looking for a way to get your hands dirty this summer and want something cool to show off at your next BBQ or party, then keep reading!
Do you have a speaker box sitting around in your garage? A project that you started but never finished? If so, this blog post is for you. I will be sharing the steps to finishing a DIY speaker box and giving some tips on finishing it off with paint without taking too much time.
How do you waterproof a speaker box?
If you’ve ever had to clean a speaker box, then you know that it can be a real pain. There’s usually gunk and grime all over the inside and out of the speaker box, making it impossible to get your hands in there. Fortunately, we’re here with some tips on waterproofing your speaker box so that any spills are no longer an issue!
- Use the best wood sealer or silicone caulk to create a barrier around the edges of the seams where water might leak into the seam. You want this as tight as possible without making it too difficult for yourself to open up again later if needed.
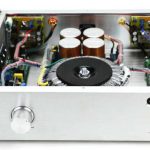
- Paint any exposed metal surfaces with rust-resistant paint before installing anything inside of your speakers – this will help protect them.
Protecting the speaker box is an important step in making sure your sound system will work right. A waterproof speaker box means that you can place it anywhere without worrying about moisture, humidity, or other factors.
The first thing that needs to happen when finishing a DIY speaker box is sanding. Sanding not only helps smooth out rough edges- which makes painting easier later- but also removes any excess glue or sawdust from your workspace.
Do you have the skills to finish a speaker box? It’s not that hard, but it can be time-consuming. The following steps will walk you through how to complete your DIY project.
- Measure – measure twice and cut once! Make sure you know what size speaker box panels are needed for your design before cutting anything.
- Cut – after measuring, make sure all pieces are cut accurately with a sharp blade or saw (be careful!). Remember: measure twice and cut once!
- Assemble – use wood glue and nails to assemble the pieces to form one solid unit.
- Sanding – sand any rough edges or splinters on the inside of the piece using an electric hand sander.
Finishing options speaker cabinets
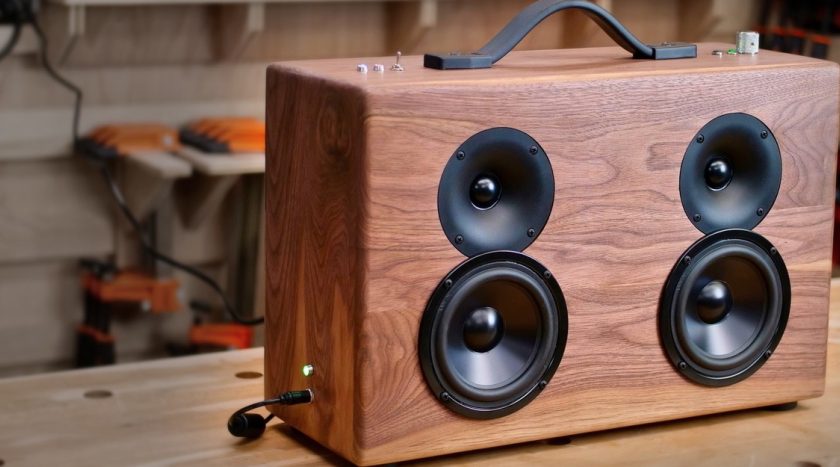
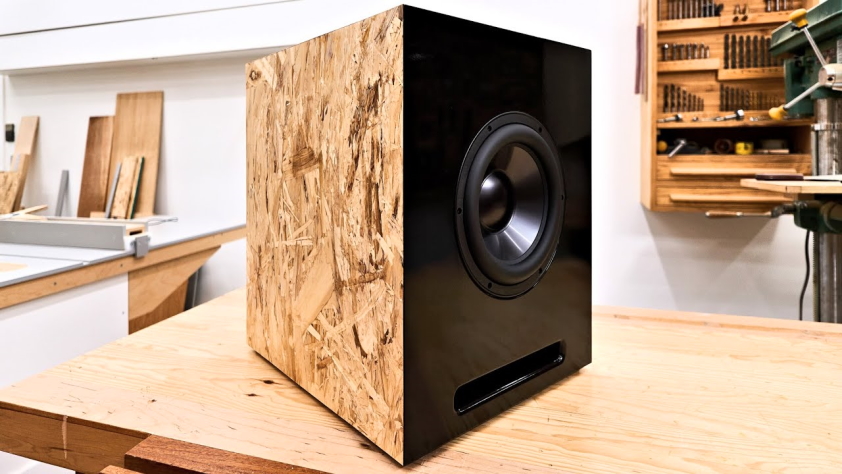
A speaker cabinet is the housing for a loudspeaker and its electronic components, which amplifies the sound of an audio source such as a radio or CD player. For optimal performance, speakers should be matched with appropriate speaker cabinets to achieve desired tonal quality and volume level. Common speaker cabinets include bass reflex, acoustic suspension (sealed), horn-loaded (vented), an infinite baffle. Each type has different performance characteristics that make them more suitable for different applications.
A speaker cabinet is a type of audio speaker that holds one or more loudspeakers. They are typically housed in separate wooden boxes, which provide acoustic isolation to help the speakers operate efficiently and produce minimal sound distortion. There are several common ways to finish the outside surfaces of the cabinets; these include paint, vinyl wraps, fabric covers, and carpeting. The most popular option for high-end speakers is wood veneer, though this comes with an additional cost. However, there are many other options available depending on what you’re looking for in terms of aesthetics and budget.